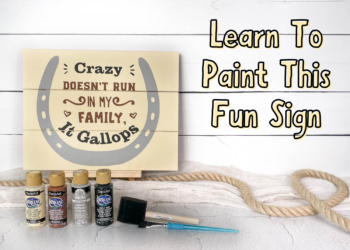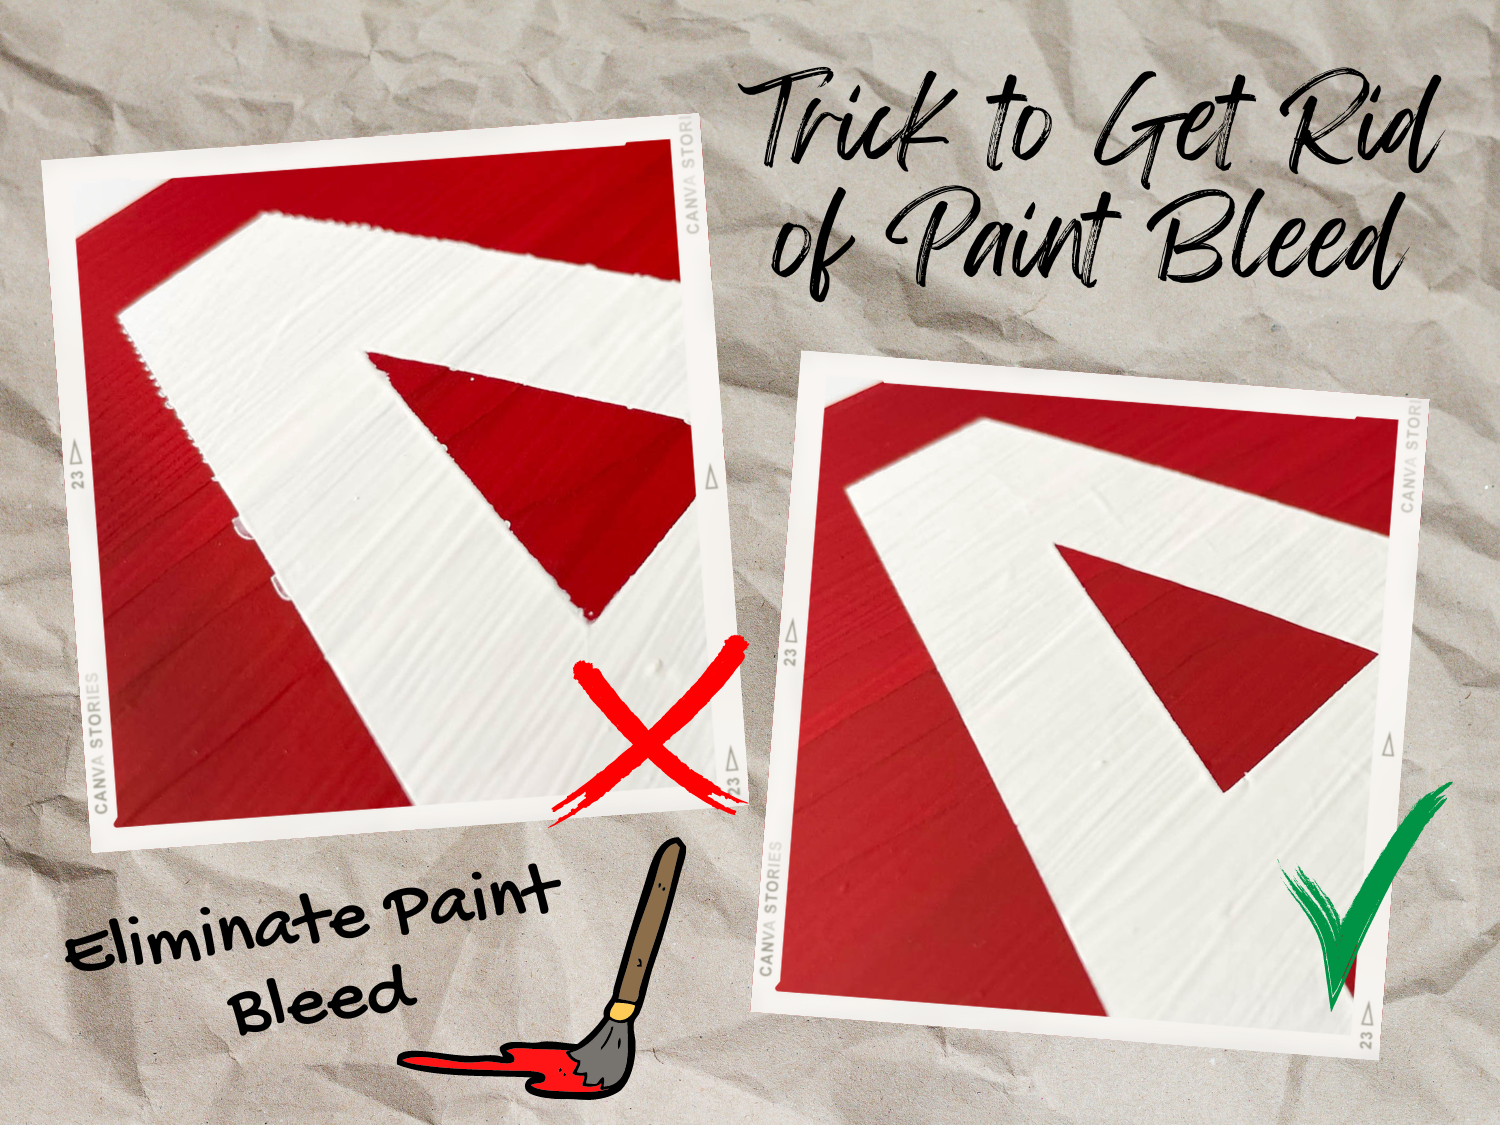
Ever paint an awesome sign, only to lift the vinyl stencil up and see the dreaded paint bleed? No worries! I’m here to save your signs.
Paint Your Base
Starting with a blank canvas or wooden board, paint the base.
When your base is painted, KEEP THE PAINT color you just used. Don’t throw the paint out.
Allow the base paint on the board to dry for a few hours before applying the stencil.
Prep Stencil
You can read about prepping your stencil for cutting and weeding in this article.
Apply Stencil
Stick the vinyl stencil on your canvas or wooden board. Lift the transfer paper off the stencil.
Here’s the Paint Bleed Trick!
Grab your base paint color, again. Brush a layer of paint over the design. The paint must cover all the weeded out sections in the vinyl stencil.
Allow the base paint to bleed through. This layer of paint acts as a sealant, blocking any bleeding from future paint colors. Wait a few hours for this layer of base paint to completely dry.
Paint Your Second Color
After the previous step dries, paint your second color.
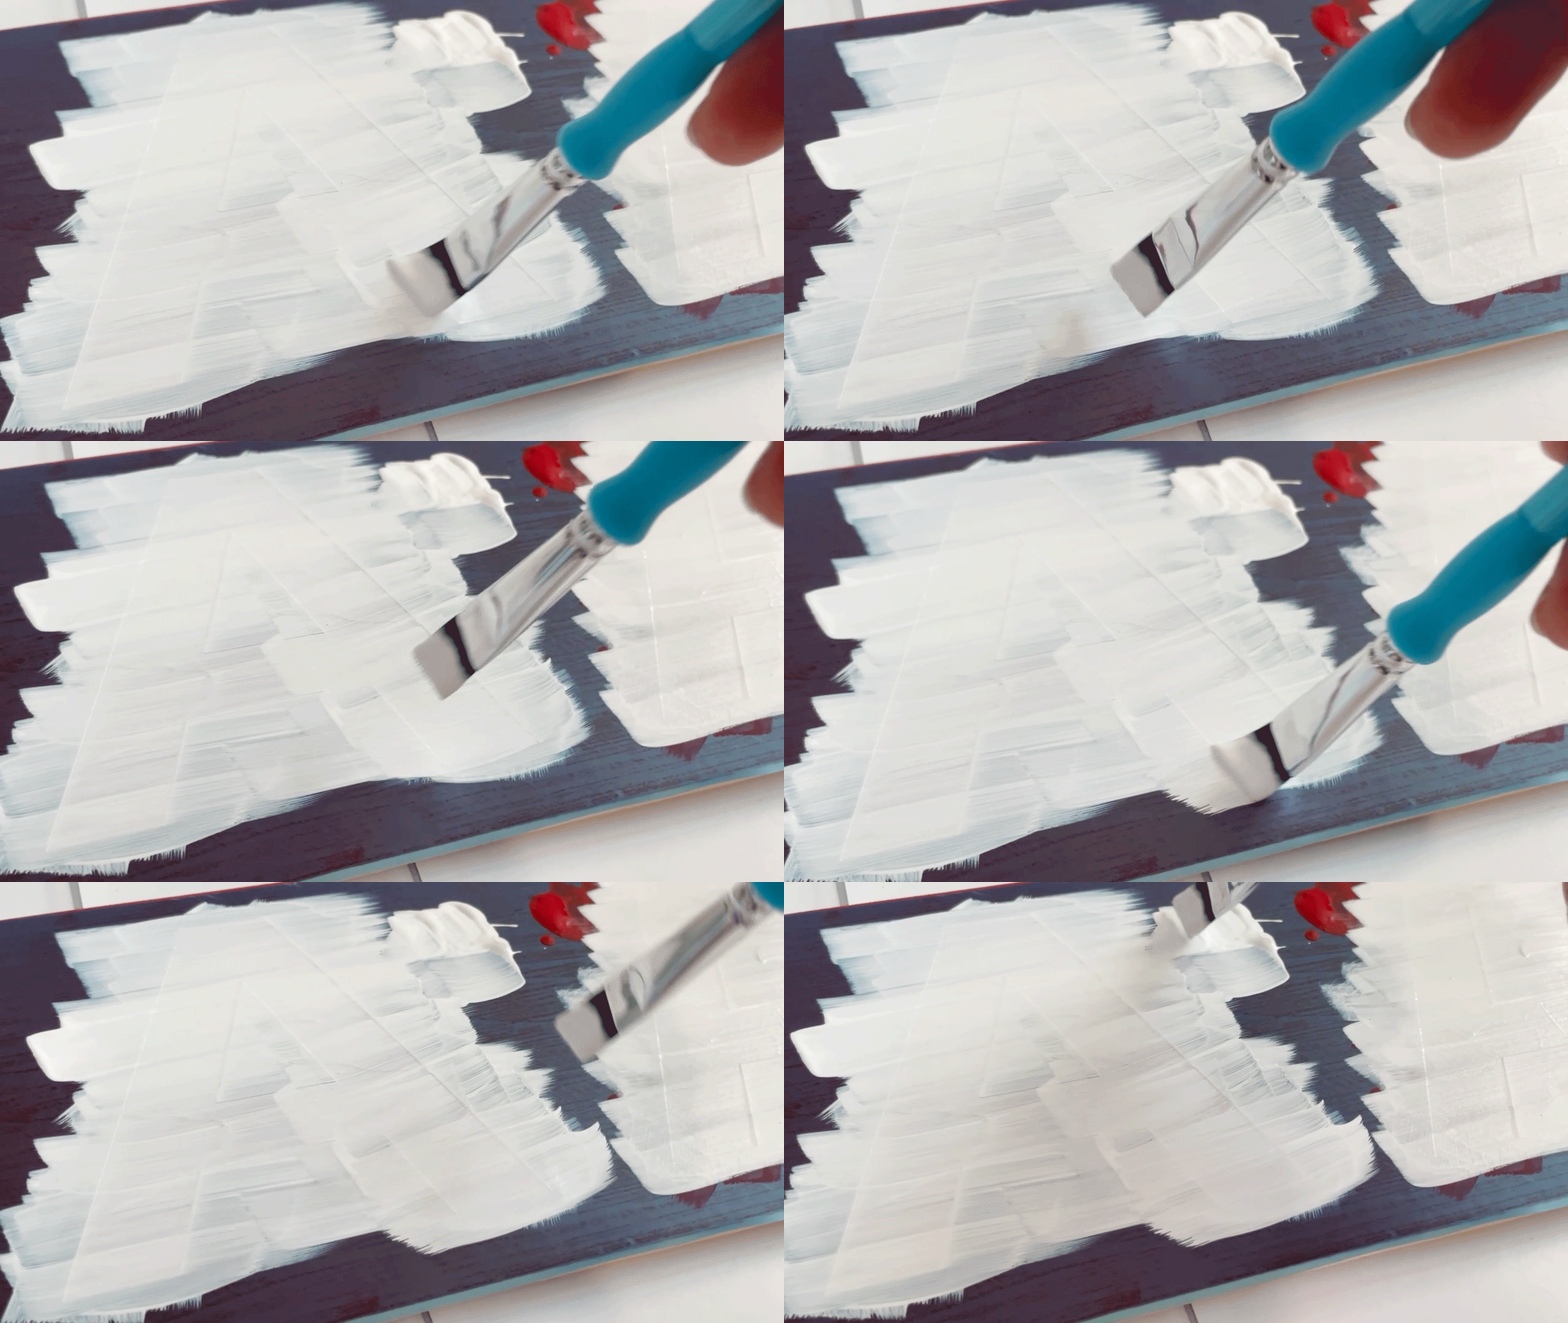
Lift the Stencil Up – No Paint Bleed!
Lift the stencil up and see your perfectly straight lines. Magic!
Keep in mind that in the GIFs the left “A” is painted without the sealant trick while the right “A” is painted with the trick.
Now the world is your oyster. So go paint perfectly straight lines!

